
iPhone app
Get the iPhone app, sign in with Apple, Google or email, and walk through setup and permissions.
Getting started on iPhone takes a few minutes: install the beta, sign in, and answer a short setup that tailors Nurvia to the way you work.
Install
During the beta, Nurvia for iPhone is installed through TestFlight. You'll get an invite link — open it on your iPhone, install TestFlight if asked, then tap Install. New builds arrive through TestFlight too.
Sign in or create an account
A short story introduces Nurvia and Nuri. Tap Continue through it, then Get started — or I have an account.
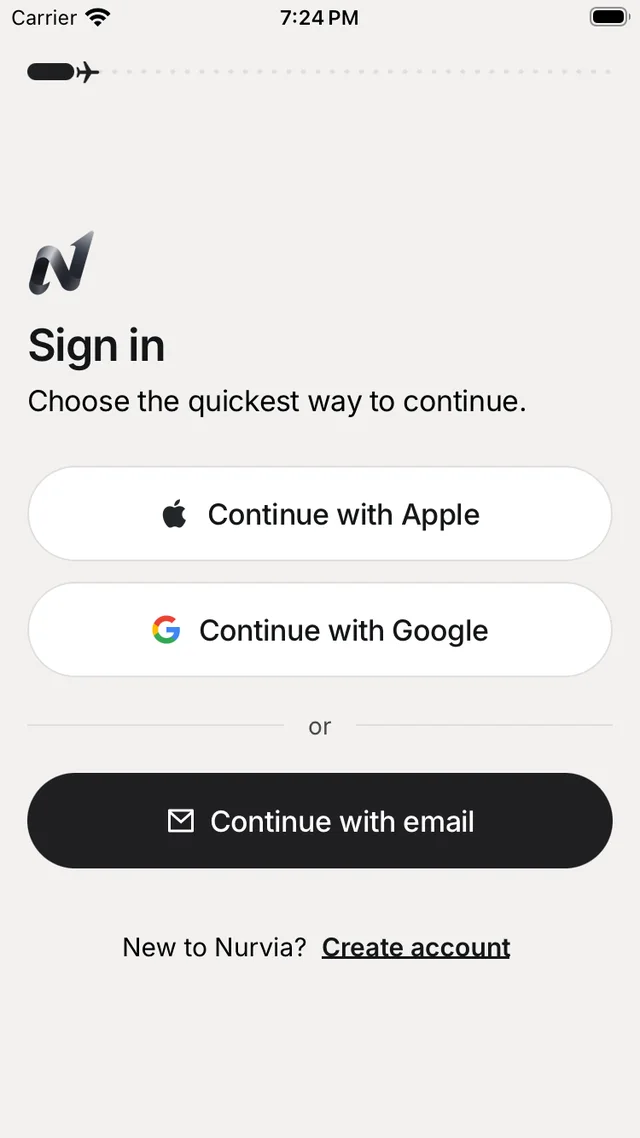
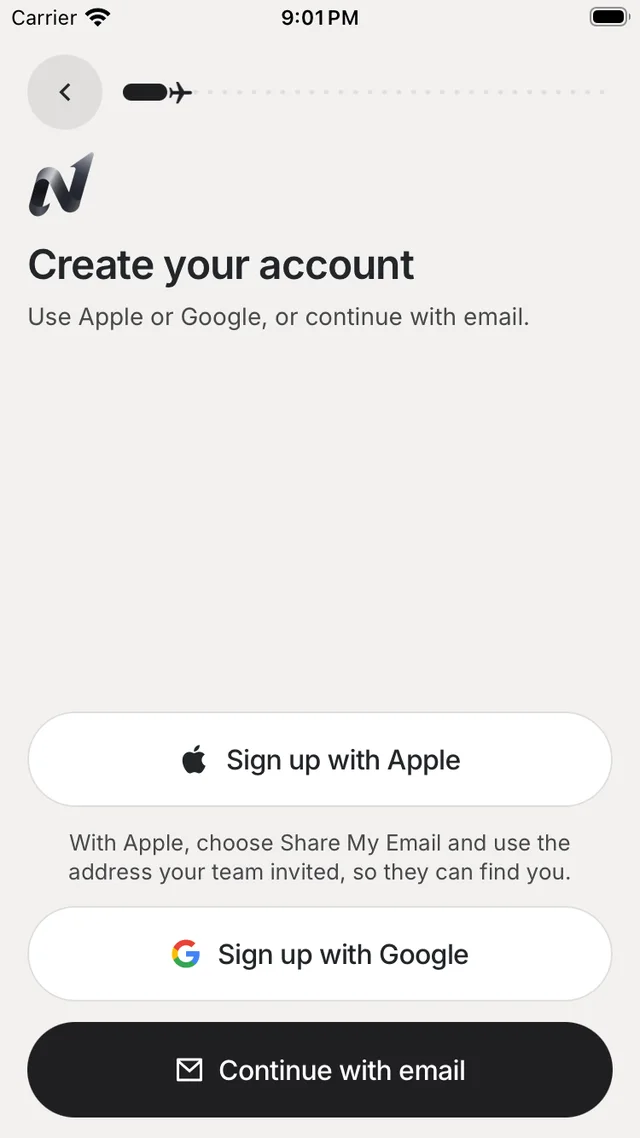
- Continue with Apple or Continue with Google — one step, no code needed.
- Continue with email — your email and password, or Email me a code instead for a 6-digit code.
- Forgot password? emails you a code to set a new one.
- If you use two-step sign-in, enter the 6-digit code from your authenticator app, or one of your recovery codes.
New here? Tap Create account. With email, choose a password of 8 to 128 characters and confirm you're 18 or older.
Updates keep you signed in
Your session is kept in the iOS Keychain. App updates never sign you out — only Log out, an expired session or deleting the app does.
Setup
Setup resumes where you left off, and every step except your name can be skipped.
About you
Your name, your role on the road, an app colour and an optional photo. Then choose how you like times, temperatures and distances — 12- or 24-hour, °C or °F, miles or kilometres.
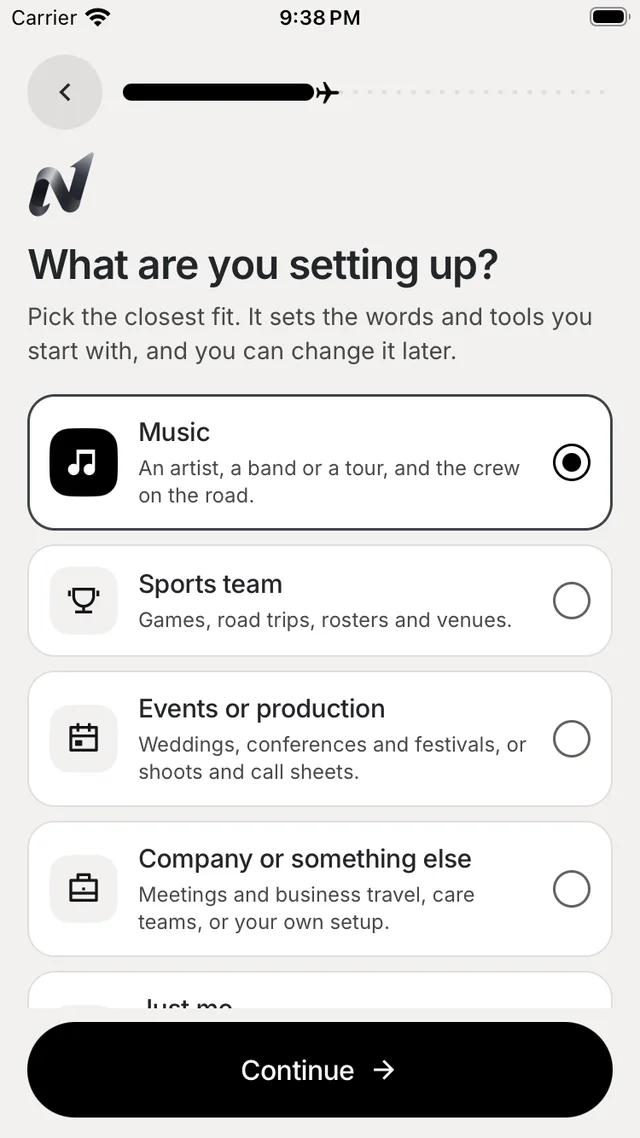
What you're setting up
Music, Sports team, Events or production, Company or something else, or Just me. Then name your team and pick the word for its plans — for example Game and Games.
Who's coming
Invite by email, Choose from contacts, Share invite link or Share invite code — or Skip for now.
Connect your sources
Connect Gmail or Outlook so bookings add themselves. You can also set up Email forwarding and a Calendar.
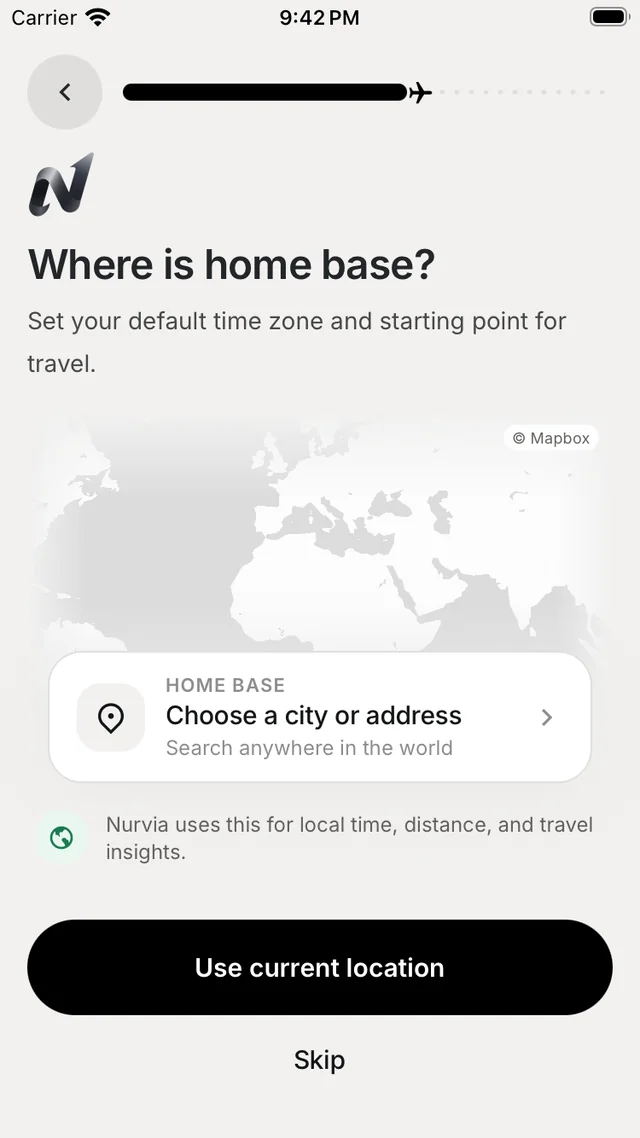
Home base and notifications
Set your home base — it sets your home time zone and starting point for travel. Then turn on notifications for cancellations, delays, gate changes and team messages.
Permissions Nurvia asks for
Each permission is asked only when a feature needs it. Change them any time in iOS SettingsNurvia.
| Permission | Used for |
|---|---|
| Camera | Receipts, documents and photos to share with your crew |
| Photos | Attaching images to gigs, chats and expenses |
| Microphone | Talking to Nuri and recording voice messages |
| Location (While Using) | Local info, the team map and travel context |
| Calendars | Adding your plans to your calendar and importing events you choose |
| Contacts | Inviting crew to your team |
| Notifications | Delays, gate changes, cancellations and messages |
Troubleshooting
Open the link on the iPhone you want to install on, not on a computer. If it has expired, ask whoever invited you for a new one, or contact us.
When you choose Share My Email with Apple, use the address your team invited so they can find you. Otherwise ask a team admin to invite the address you signed in with.